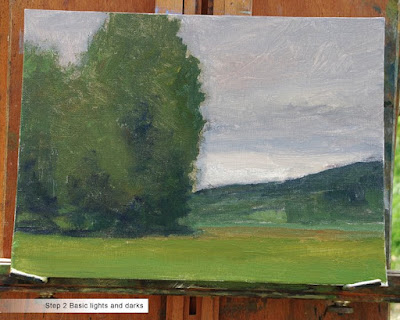
 STEP 2 BASIC LIGHTS & DARKS: Ok now I fill in each main shape with the basic color and apply a darker version of that color to the shadow areas. Again I am working fast here just getting the whole light mass and the shadow mass. The goal is to get a basic color map that shows the scene with light and atmosphere. I have also added the soft warm gray sky to help unify the painting so far. From here I already can get an idea of where this piece is going. I step back ten feet or so to compare my painting to the scene. At this stage we are only ten minutes into the piece. PART 2 is on the next post. Let's go!
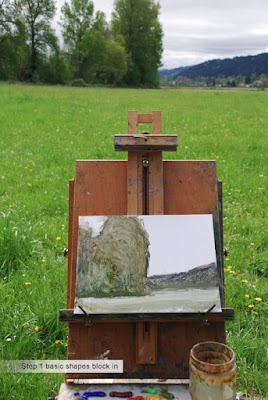 STEP 1 BLOCK IN: So now I am blocking in the same shapes we saw in grayscale in the previous photo. I mixed a warm neutral green earth tone for my tree mass, a soft gray blue for the hills, and a wash of a lighter base green for the field. This stage is less than five minutes and as simple as following the those basic shapes we did in grayscale. Don't even worry about the details at this point. We are on to the next step!
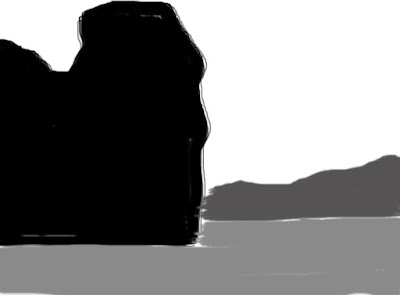 COMPOSITION: here I have blocked in the basic shape composition using solids. Even though this is just single solid shapes you can still see the layout of the piece taken from the scene photo. This gives you an idea of how to be looking at the landscape when deciding what to paint. Now we can get going on the canvas.
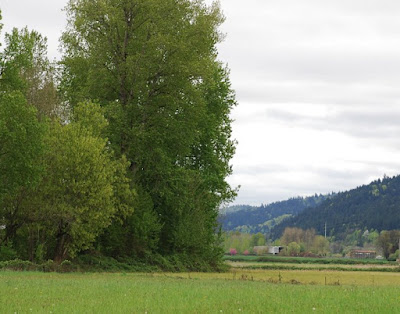 COMPOSITION: From the overall scene I decided to pull in on the main trees and distant hill for my painting. Noticed that I have just three main solid shapes for this painting the trees, distant hills and the foreground. This is what you should be looking for at this stage.
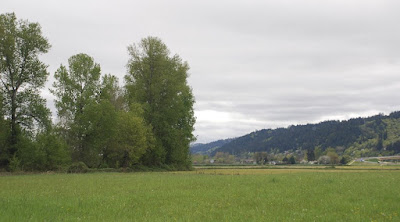 START: So here is my location for today. A very nice country scene with rich colors. The cloudy day with shifting light is going to be tricky but if I work fast, I can still get a decent study out of this. A lot of people do not know what to paint once they are here, there is SO MUCH out there to take in it can overwhelm you. So here is the overall scene. Now let's pull a painting composition out from here to work with.
A cloudy day with a front moving in is going this one a bit tough. Hey, at least its not raining right? So here are the steps showing my basic process while painting plain air.
As I said before, I generally just work on quick block ins outside and finish them up in the studio. So here we go!
For a larger view of these demo photos just give them a click.
No comments:
Post a Comment